DIY Projects

DIY Floating Shelves vs Built-In Bookcases: Which Wall Storage Suits Your Home?
A wall of books sounds romantic until you price up the cabinetry. Then you spot a pair of brackets for a few pounds and start wondering why anyone bothers with anything else. Both options earn their place, and the right one usually comes down to less glamorous questions: what is behind your plaster, how much time you realistically have, and how much floor you are willing to give up.
Here is how the two compare on cost, tools, skill, space and style, plus a quick way to settle the argument before you buy a single length of timber.
Two very different projects wearing similar clothes
Floating shelves are fixed straight to the wall with no visible supports. Take the word "floating" with a pinch of salt: every shelf sits on something, whether that is a pair of concealed brackets, a French cleat or a timber batten screwed into studs. The fixing does all the work, and it is the part most people get wrong.
Built-in bookcases are furniture you build in place. A carcass or a run of uprights and shelves, scribed to the walls, the skirting and often the cornice, then painted to match the room. Done well, they look original to the house. Done badly, they look like a wardrobe that gave up.
Cost: where the money actually goes
Rather than quote prices that swing wildly with region, timber type and supplier, it helps to know what drives the bill in each case.
Floating shelves
Timber, brackets and fixings. Pine and painted MDF are the budget-friendly choices; solid oak or ash raises the cost sharply, particularly for lengths over about 1.2 metres, where you either pay for thicker stock or accept a visible sag over time. Steel or concealed rod brackets cost more than a simple batten but hold considerably more weight. Add primer, paint and filler to the list.
The catch is quantity. One shelf is a cheap afternoon. Six shelves down a hallway is a proper project, and the cost climbs with every one.
Built-in bookcases
Sheet material for the carcass, timber for face frames and shelf edges, plus hardware, caulk, filler and a great deal of paint. MDF is easy to paint and stable but needs support over long spans; plywood is stronger and can be left with an exposed edge; solid timber looks lovely and moves with the seasons.
The biggest hidden cost is waste. A badly planned cutting list turns a sheet of material into offcuts. If your timber merchant offers a cutting service, use it — you will often save more than the cutting charge on mistakes alone.
Tools, skill and time
Be honest about this section. It is where most projects either fly or stall for six months.
Floating shelves
You need to find solid fixing points, get everything level, and hide the evidence. On a plasterboard wall that means locating studs or using cavity fixings rated for the load. A cable and pipe detector is worth more than any other tool you will buy for this job.
- Tape measure, pencil and a long spirit level — 1.2 m rather than 600 mm
- Drill with masonry and wood bits, plus wall plugs and screws rated for the weight
- Stud, cable and pipe detector
- Saw, or a merchant's cutting service, plus sandpaper
- Primer, paint, fine filler and a filling knife
- Clamps and a second pair of hands for anything long
Skill level: moderate. One weekend for a set of shelves, plus drying time.
Built-in bookcases
You are building furniture, so you need square cuts, a plumb carcass and joints that stay tight. Scribing to a wall that is not flat is the skill most people underestimate — older houses are rarely square, and skirting heights can vary from one end of a room to the other.
Skill level: intermediate to confident. Two to four weekends for a straightforward alcove unit, longer if you add doors, drawers or a painted finish that has to look seamless.
Measure your wall at the top, the middle and the bottom. If those three numbers differ by more than a few millimetres, plan to scribe the unit — or accept that filler and paint will be doing some of the work.
Space efficiency: what each one really gives you
Floating shelves typically run 20–25 cm deep, which suits paperbacks, small plants, framed pictures and kitchen crockery. Go closer to 30 cm and they take larger books, though they will look heavier in the room.
Their real advantage is the floor. Nothing touches it. A narrow hallway or a small bedroom keeps its full width, and you can slot a bench, a desk or a radiator underneath, leaving sensible clearance for heat. You also choose the gaps, so tall vases and oversized art books get the room they need.
Built-ins use a footprint but win on total volume. Floor-to-ceiling uprights, a base of cupboards and shelves spaced for real book sizes hold far more than the same wall of floating shelves, and doors at the bottom hide whatever nobody wants to look at. In an awkward alcove, they turn dead space into the most useful wall in the house.
Style: what each one says
Floating shelves read light, modern and uncluttered. They suit Scandi and contemporary interiors, kitchens with open shelving, and rooms where the objects should be the focus. They also show every bit of mess, because there is nowhere to hide it.
Built-ins read traditional, architectural and calm. They belong in period homes with alcoves either side of a chimney breast, and they make a living room feel settled in a way freestanding furniture rarely manages. Paint them the same colour as the walls and they almost disappear; use a contrast colour and they become the feature.
A quick fit by room
- Living room alcoves: built-ins, every time, if the budget allows.
- Small hallway: floating shelves, shallow and set high, to keep the floor clear.
- Kitchen: a short run of floating shelves for daily crockery; built-ins or a tall unit if you want appliances hidden.
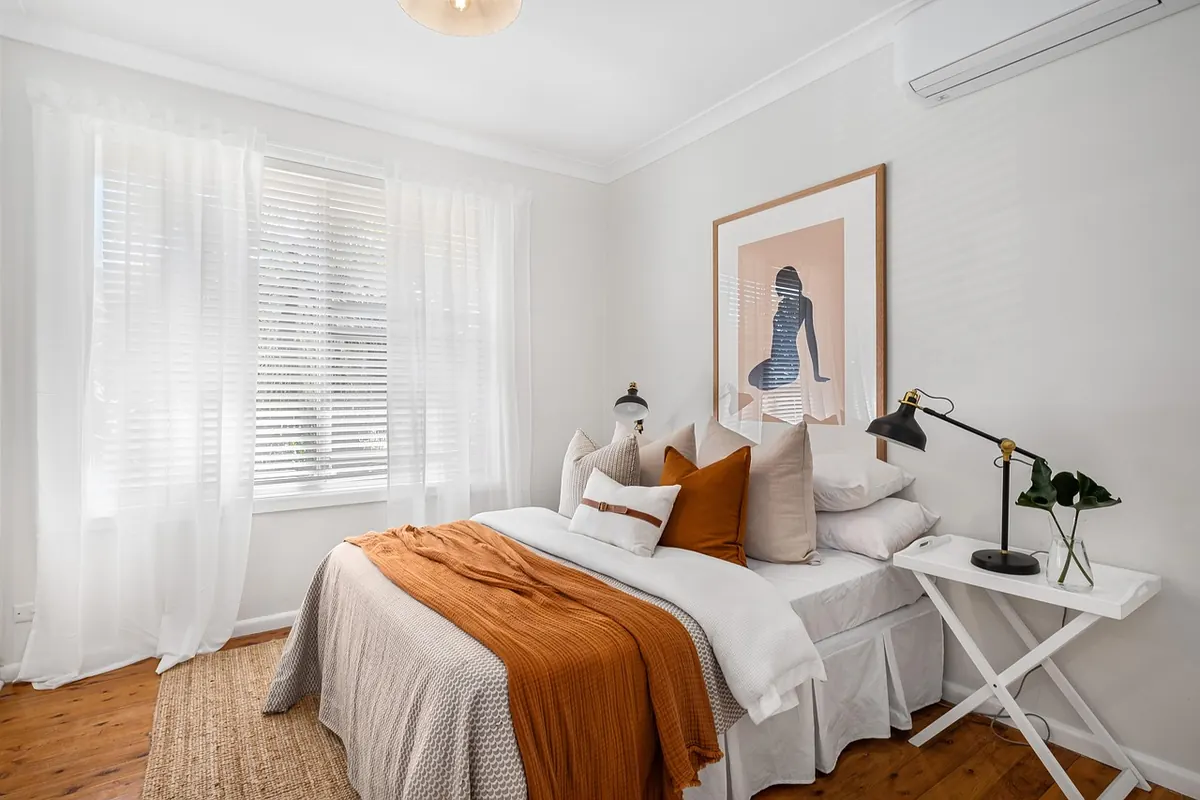
- Bedroom: floating shelves as bedside storage where floor space is tight.
- Rented homes: floating shelves leave smaller holes to fill. Treat built-ins as freestanding, removable units unless you have written permission.
How to decide this weekend
- Measure the wall, check how flat it is and find out what it is made of.
- List what has to be stored, using real dimensions — the tallest book, the widest bowl.
- Decide how much floor you are prepared to lose, if any.
- Price your own cutting list before committing to built-ins, including paint and hardware.
- Pick the honest option: storage in a fortnight means shelves; a wall that looks as though it was always meant to be there means built-ins.
If the fixing side of either job makes you uneasy — heavy shelves above a sofa, or anything going into a wall you do not understand — ask a qualified carpenter or joiner to take a look. A shelf that fails takes its contents with it, and the repair bill rarely stops at the shelf.
Photo: Ayyeee Ayyeee / Pexels
Related Articles