DIY Projects
DIY Gallery Wall on a Budget: Plan, Hang and Level Without Damaging Walls
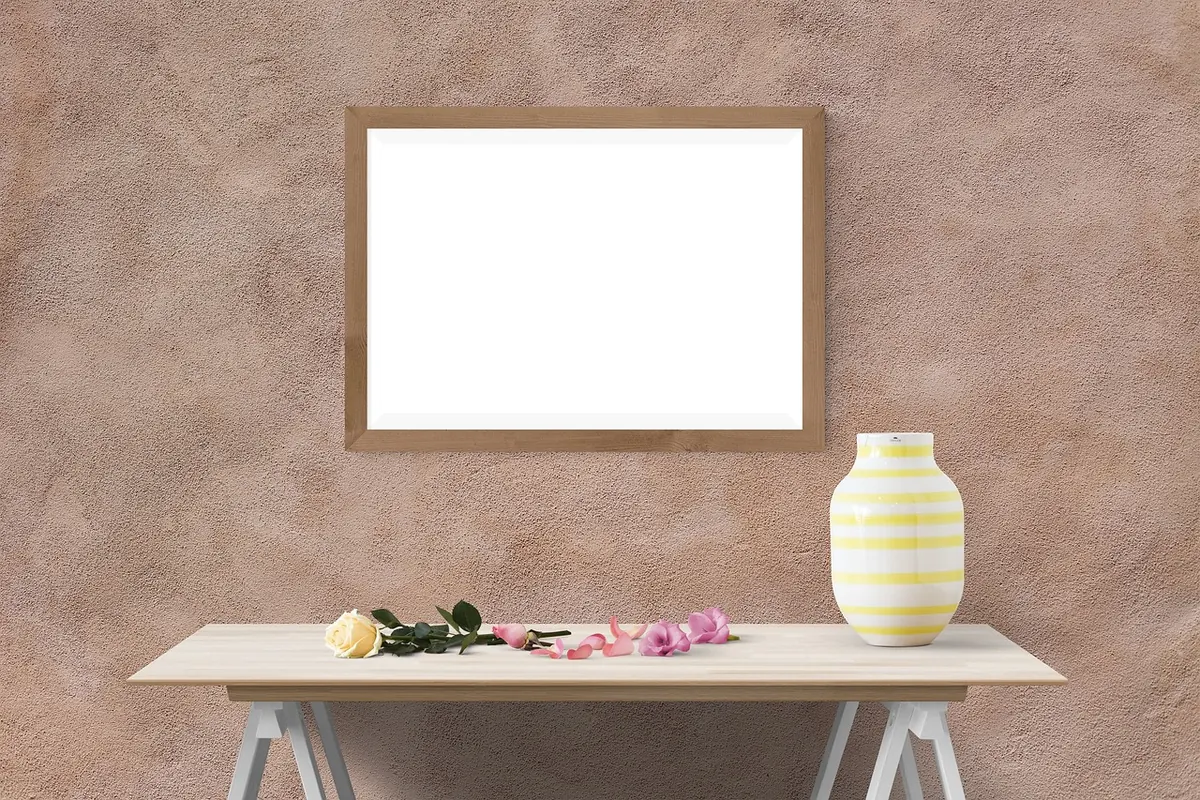
A gallery wall looks effortless once it is up. Getting to that point is where most people stall: a pile of frames on the floor, a blank wall, and a nagging fear of making holes in the wrong place. The good news is that planning takes longer than the hanging, and planning costs nothing. With a roll of brown paper, a spirit level and a few removable hooks, you can fill a bare wall with art you actually like, spend very little, and take it all down later without reaching for the filler.
Decide the shape before you buy a frame
Start with the wall, not the frames. Measure the width of the furniture the arrangement will sit above — a sofa, a sideboard, a bed — because a group usually looks best when it spans roughly two-thirds to three-quarters of that width. Narrower looks lost; wider feels like it is spilling over the edges.
Then choose a shape. A neat grid of same-size frames in two or three rows is calm and formal. A salon-style arrangement, with sizes and orientations mixed, suits a larger wall and a collected look. A single row of three or four frames works well above a desk or in a hallway, and a vertical stack of two or three is the fix for a narrow chimney breast.
As a general guide, aim for the centre of the arrangement to sit around eye level — roughly 145 to 150cm from the floor — adjusting for who actually lives in the house. If you rent, check what your tenancy agreement says about fixings before you plan anything at all. That is the one conversation worth having early.
Plan the layout on the floor first
Clear a space on the floor the same size and shape as the wall area you are filling. Lay the frames out there, shuffling until the balance looks right: heavier pieces low and towards the centre, lighter ones at the edges, strong colours spread rather than clumped together. Take a photo from directly above when you think you are finished. A lopsided composition is far easier to spot in a photo than standing over it.
Then move the whole plan onto the wall using paper templates.
The paper template method
- Draw around each frame on brown paper or leftover wrapping paper and cut the shapes out.
- Mark the hanging point on every template — the top of the D-ring, or the top of a picture wire pulled gently taut.
- Tape the templates to the wall with low-tack masking tape.
- Step back, sit down, walk to the doorway. Move templates until the spacing feels even. Aim for a consistent gap of around 5 to 8cm between frames; a mix of tight and loose gaps reads as accidental rather than relaxed.
- When you are happy, make a pencil dot on the wall at each marked hanging point, then peel the templates away.
Art that doesn't cost gallery prices
Frames are often the bigger expense, so sort out what goes inside them first.
- Your own photographs, printed at a local shop or an online printer.
- Out-of-copyright works from museum and gallery open-access collections, which many institutions now allow you to download and print for personal use.
- Postcards, greetings cards, ticket stubs, sheet music, old maps, wallpaper samples and fabric offcuts.
- Children's drawings, or a length of patterned wrapping paper cut to size.
- Charity shop and car boot finds — buy the frame for its proportions and ignore whatever is currently inside it.
Making mismatched frames work
A coat of matt spray paint or chalk paint in one colour pulls odd frames into a set. So does a mount: wide card around a small postcard gives it presence for a few pounds. Choose two or three frame finishes — say black, oak and brass — and repeat them across the wall rather than hanging every frame you own.
Damage-free hanging that actually holds
Not every wall and not every frame suits adhesive hooks, so match the method to the weight.
Adhesive hooks and picture strips
These work well for lightweight frames with a flat, smooth back. Follow the weight limit printed on the packet rather than guessing. Clean the wall first — isopropyl alcohol is ideal, but a damp cloth left to dry will do — and never stick them to freshly painted walls, because paint needs to cure, often for a couple of weeks. Press firmly for the stated time, then wait before hanging anything. Skip them on textured wallpaper and lining paper, and above radiators or in steamy rooms, where they tend to give up quietly in the night.
Hooks, nails and rails
For anything heavier, use a proper picture hook. On a solid wall, a hook fixed into a wall plug is far more secure than a bare nail. On plasterboard, use a hollow-wall fixing rated for the weight. If the room has a picture rail, use it: rail hooks and cord mean no holes in the plaster at all, and you can rehang the whole arrangement in ten minutes when you fancy a change.
Or lean the big pieces on a picture ledge or a deep shelf instead. If you have children or pets, secure anything heavy so it cannot topple.
Level, spaced and staying that way
Level is not the same as straight. Trust a spirit level against the top edge of each frame rather than your eye, which will happily accept a two-centimetre slope.
A strip of low-tack masking tape run between your pencil marks makes a useful baseline while you work, and peels away without a mark. For frames hung on wire, use two hooks rather than one — the frame cannot swing itself off-level that way. Small self-adhesive bumpers on the bottom corners stop frames tilting and keep the plaster free of scuffs. Then check the spacing once more from the sofa or the doorway. If something feels off, it is usually the gap, not the picture.
Keep a repair kit and take it with you
If you do make holes, keep a small tub of lightweight filler and a sample pot of your wall colour in a cupboard. A dab, a light sand and a touch-up takes minutes and leaves a rented wall looking untouched at the end of a tenancy — provided your agreement allowed the fixings in the first place.
Photograph the finished wall. That picture becomes your template the next time you move, saving you from starting the whole plan again in a room with different proportions.
A gallery wall is not a permanent fixture. It is a collection you add to: a print from a weekend away, a photo the children bring home, a frame that finally gets painted. Start with four or five pieces, get the layout right, and let it grow.
Photo: RaniRamli / Pixabay
Related Articles